


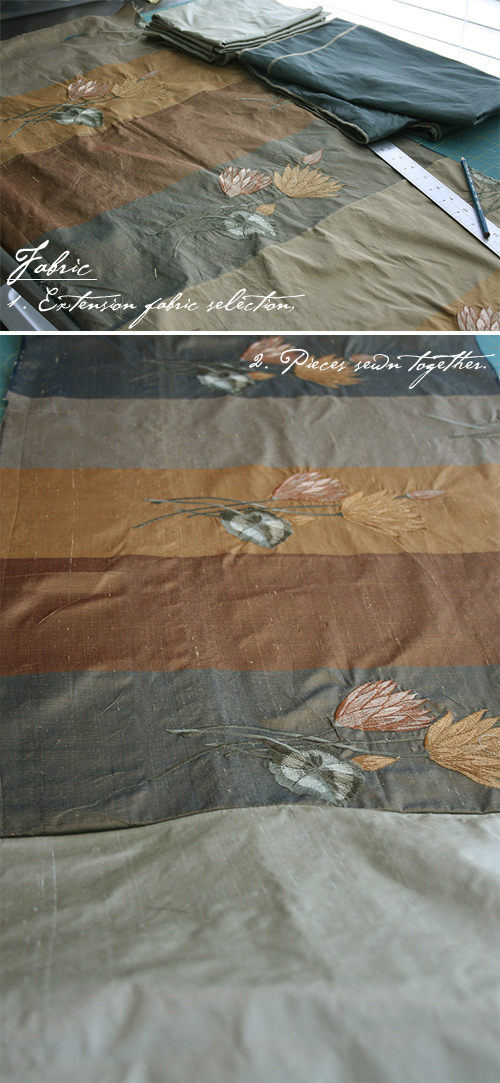
We found this remnant silk with embroidered lotus blossoms and mom fell in love with it. It was too narrow to fit the width of the window and the piece was too short to extend the pattern side-by-side, so we picked out a few complimentary remnants. I chose to use the color on the left, as I felt the darker color would dominate the the beautiful details. I cut off the stripe at the far left, and sewed the pieces together. The bottom photo shows them sewn together, before pressing.
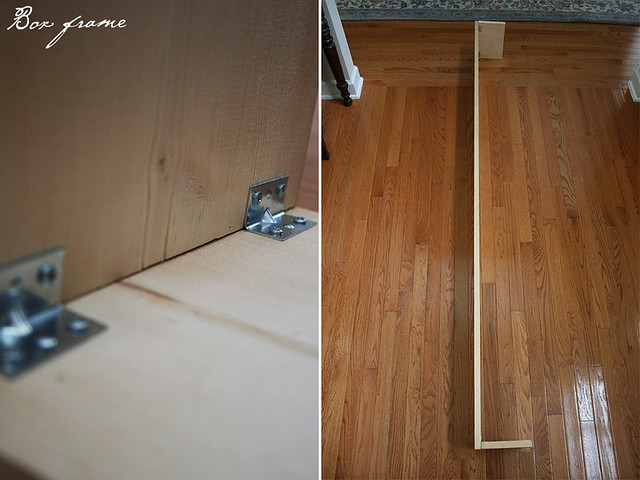
We bought a 1' x 10" x 8' piece of pine board from Lowe's. Michael sorted through them to find the straightest one in the lot. We measured ours to be 4" wider than the window on each side, and and made it a depth of 6". We used bridged L brackets to attach the corner pieces. We found the last time we built them that the regular L brackets caused the sides to turn in a bit. These do not.
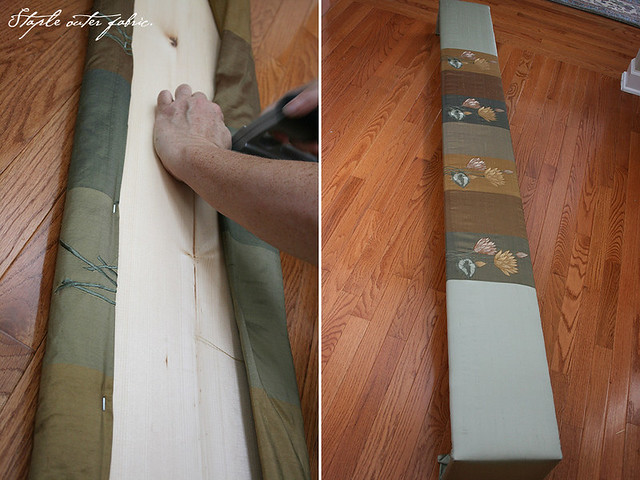
Once the frame was together, we laid it out on roll padding and started stapling. The padding was actually left over from our previous project.
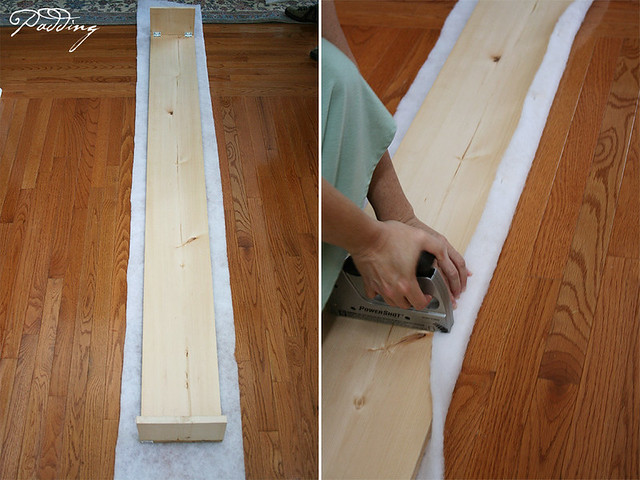
I cut the padding in the corner to give a tight turn and fold. Otherwise, it will have a big bump on the top and bottom corners. We didn't wrap the excess padding over the edge in order to have a flat finish, easier for mounting.

Stapling the fabric over the padding. Mostly covered now, just need to turn the ends. We have just a tiny amount of puckering, but that is due to the embroidery. After it has been up a couple of days it has smoothed out some. You may also add (hot glue) a large strip of material to the back to hide the staples.
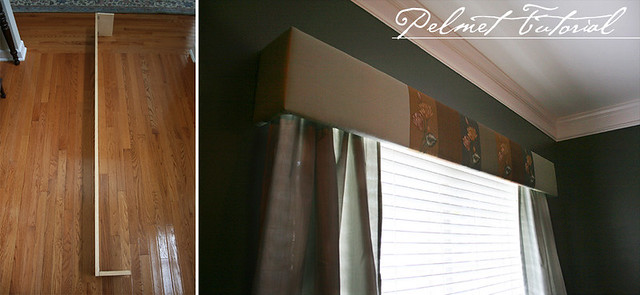
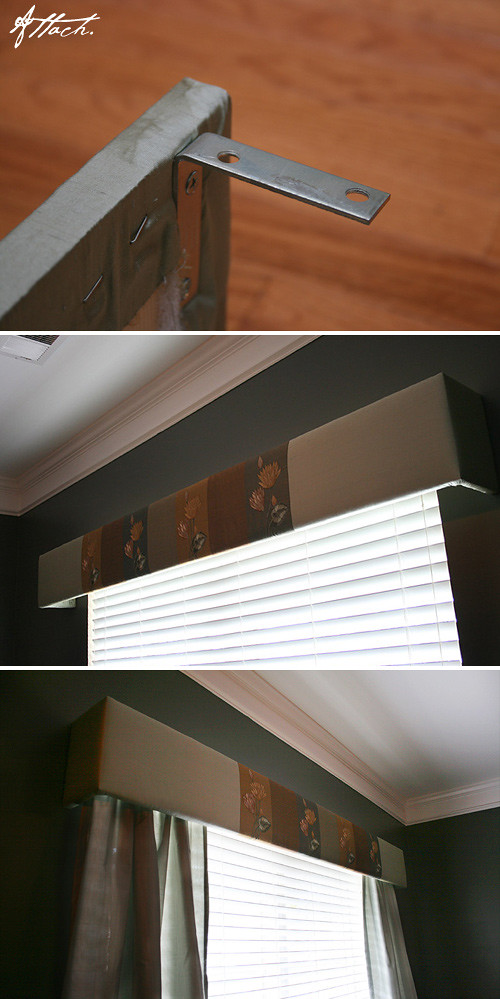
Mounting bracket. We only used on each side, at the top.


No comments:
Post a Comment