Showing posts with label bedroom. Show all posts

Monday, February 28, 2011

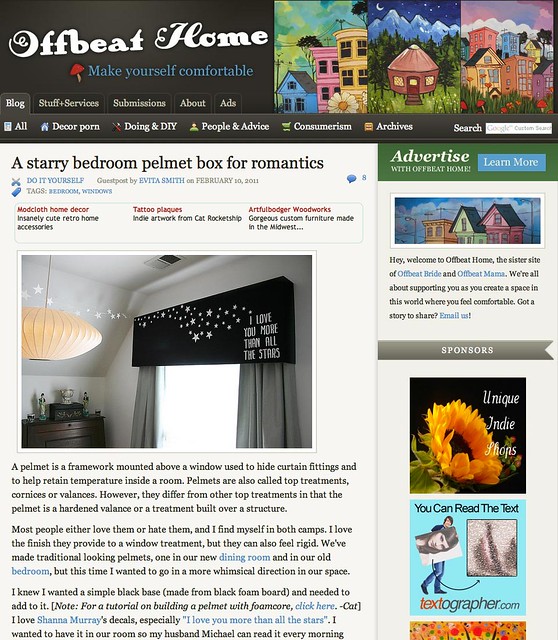
Pelmet box feature on the newly launched Offbeat Home!

OffbeatHome

Is it really Monday? We spend a couple of hours in the yard before an oyster roast on Saturday and then we were back at for a good portion of the day yesterday. I feel great but I'm a little foggy today. If we could keep this pace throughout April, I believe we'll have something pretty spectacular for the summer season.

The newly developed Offbeat Home ran a soft launch last week this week is the 'Grand Opening'. I submitted our bedroom pelmet and it is one of the posts live for launch! Head on over and check out the site.

Thanks Offbeat Home! Stay tuned to the site as I have one more little piece being featured this week!

Wednesday, February 23, 2011

The Accidental Lamp

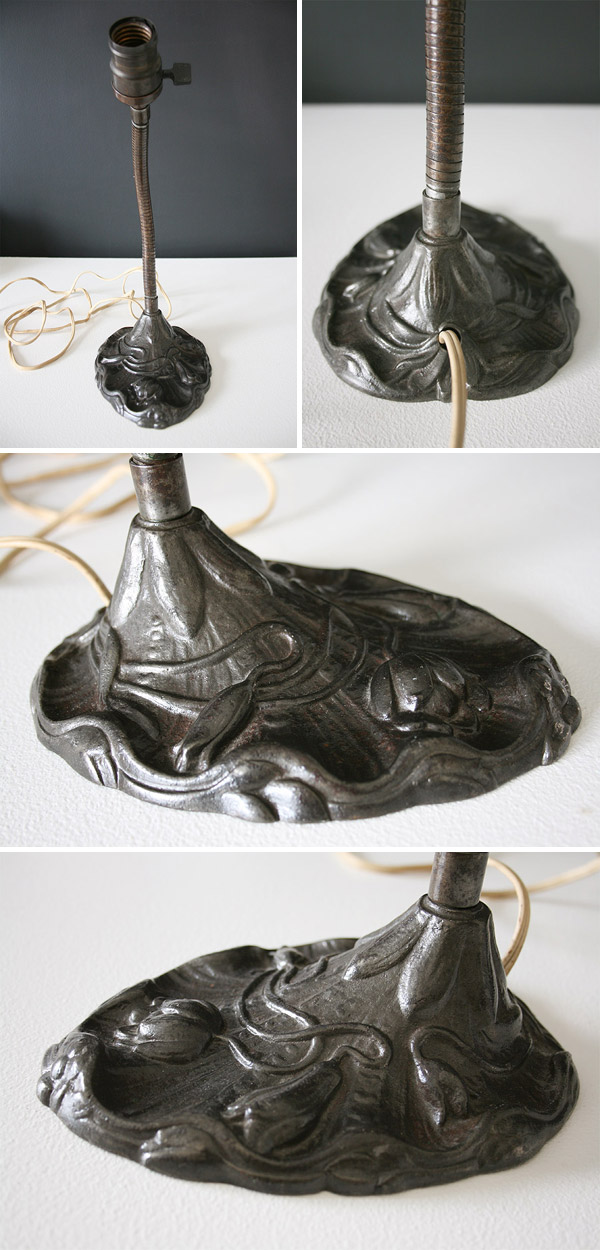
The accicental lamp arrived yesterday and...we've decided to use this in the corner in question. It was sold sans shade so we'll need to be address that ASAP! I've seen a few of the old lamps with milk glass shades {would need an extra clamp?} and I'm going in search of one. Like the other lamp, we'll clean/rebuild the old socket.

Lotus Lamp

Michael has *suggested* that the other lamp would be perfect in his lab.

Monday, February 7, 2011

It's in the stars.


I found the above image on Pinterest during the weekend. It's the 'All Star' wallpaper from Barneby Gates, the company who makes the gorgeous Deer Damask wallpaper I posted about a while back. It's really beautiful and it made me take another turn in what I'm envisioning for our bedroom walls.

Two things have been certain in my mind since we knew we were buying this house, flat white walls with high-gloss white highlights. I want subtle yet interesting textures in the room without overpowering it. At first I thought about stenciling and couldn't decided between these three stencil designs from Cutting Edge Stencils on Etsy. We chose the first design and ordered it. It's a really wonderful stencil and I want to use it, but we have a few odd angles and several corners { more than four } in the room, and I've been debating whether I wanted to put so much work into right now. I decided to roll it up for another time or another room and then began thinking about doing something freehand. The idea was very appealing but I was beginning to see that the walls are holding up progress in finishing the space. So I went back to an idea that's been greatly influenced by the AMAZING designs of Modachrome Home's wonderfully talented Eve, where I would cut the designs from sticker vinyl. Using this process would allow us to stage the room and begin to feel at home while applying the highlights. I was toying with the idea of something in a fleur-de-lis with freehand embellishments when I stumbled up on the image above. Ah ha! How awesome would it be to continue the stars theme on to the walls? They don't have to be in a uniform pattern and even better is that I won't have to take anything down to apply them!

I think it sounds like a darn nifty idea. And by darn nifty, I mean easy and hopefully painless. I'm ordering the vinyl today and will post progress shots. I don't think it will take too long to complete the project.

OH! We've made a decision on the light fixture from last week's post. We're going the route of eBay and I'll post more if we win the auction. Please wish us luck!


Tuesday, January 18, 2011

I Love You More Than All The Stars...

I've been having going through a particularly rough patch recently and Michael has been absolute awesomesauce in supporting me. He's been instrumental in motivating me to finish the bedroom with him. It wasn't easy on his part but he was successful. This past weekend we built the pelmet for the one window we have in our bedroom, which is actually the FROG.

I love Shanna Murray's decals, especially this one. I wanted to have it in our room so Michael can read it every morning when he opens his eyes, and my thinking was that the pelmet would be perfect place. Yup, I'm very much a romantic geek! I try to support artists whenever I can but dangit, after buying the supplies to make the pelmet base it pained me we could not justify buying the decals from her. So DIY it was!

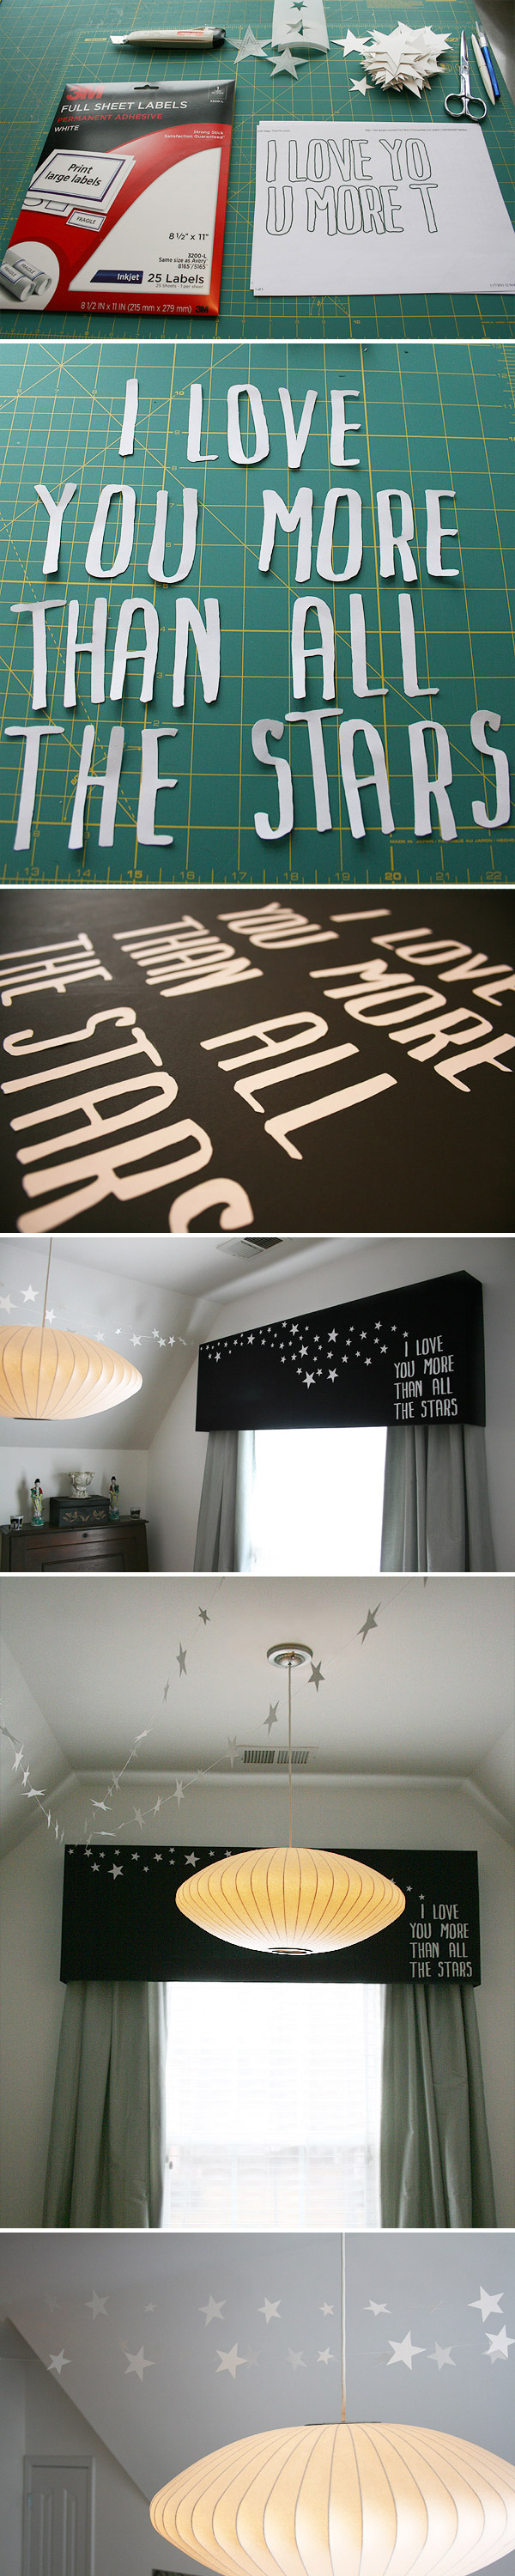
Now, I don't trust my handwriting these days so drawing the letters freehand was out of the question. It took a day for the 'aha' moment to arrive and I could set about making them. I downloaded the Markus Ink font I and put a stroke/border around the type for my cutting guides. I printed them on full sheet adhesive labels in a series of three pages. Once printed, I sat down and cut out the shapes. I find this kind of work very therapeutic. I used the scraps to cut out the stars would stick to the pelmet front and the stars for the garland were cut from the scrap poster board from the snowflake garlands I made during the holidays. We hung the pelmet and strung the garlands, once I finished sewing them.

Pelmet Montage

Fresh from the printer. | Finished cutting. | Applied to pelmet surface {all edges have been smoothed out}. | Ta-da! | Shooting stars. | Stars detail.

I'm still looking forward to buying something from Shanna down the road, particularly these!

Tuesday, January 11, 2011

In the tune of 'Rubber Ducky'.

Saucer pendant, you're the one
You make bath time lots of fun
Saucer pendant, I'm awfully fond of you
Bo-bo-bo-de-oh...


We made more progress in our bedroom yesterday by hanging our beloved $8.00 Nelson Saucer Pendant Lamps. Here is a snapshot of what I call 'boob lamps' before we started painting.

I call these 'boob lamps'.

But before we could get that accomplished, we needed to clean off some serious ick. They've gotten progressively dustier over the last several years {and being stored for 7 months now} and even had bird poop on one of them! A bird got into the house - it flew in through the torn porch screen and through the open door - just before we moved last year and must have been in our bedroom for quite a while before we found it perched atop one of the lamps. Poor thing was terrified.

Bath time!
{ I have no idea why the pendant looks so small while Michael is holding it. Maybe it's because he has giant bear paws! }

Tuesday, July 6, 2010

And the winner is...

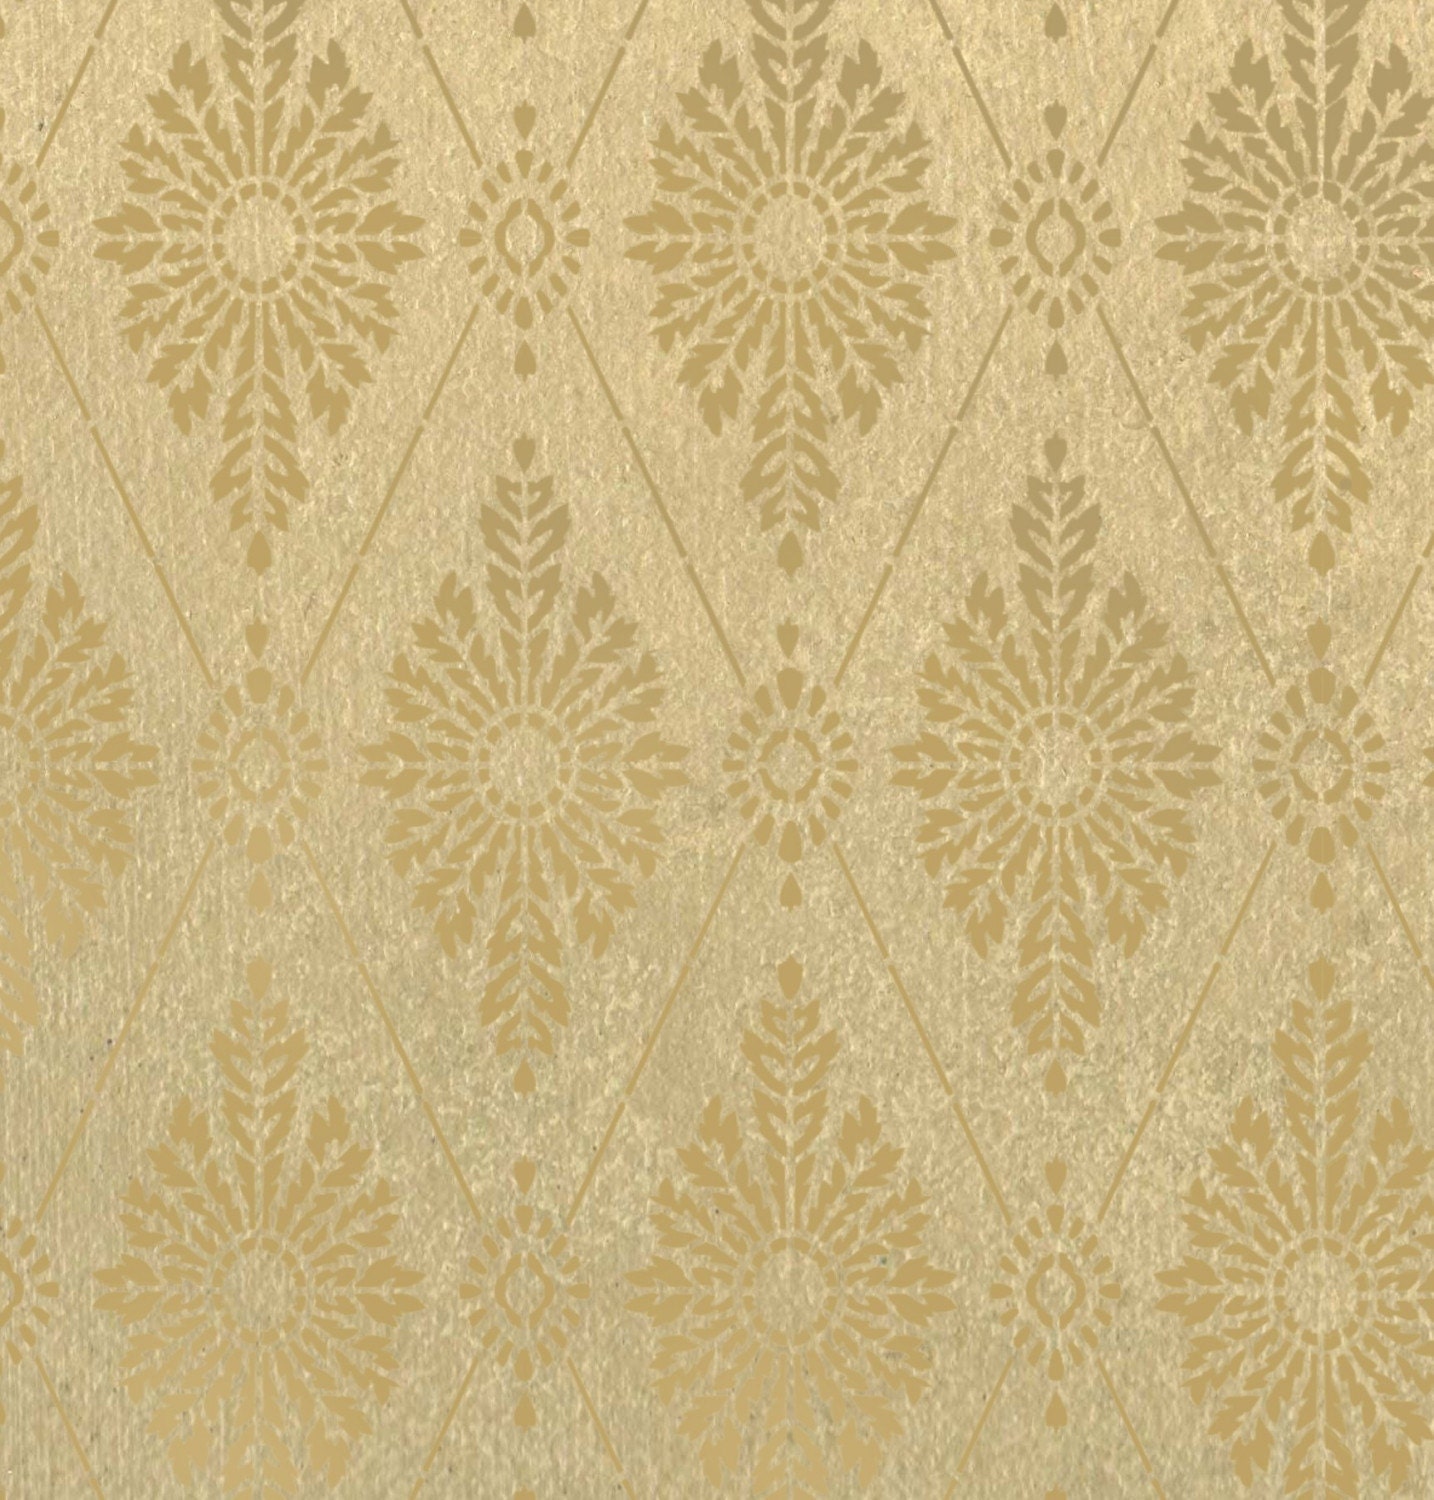
Number One! Here's a picture of the stencil in color:


I ordered the stencil from Cutting Edge Stencils on Etsy. We're looking to rehab/hack our MALM bed. We've had it for 4 years now and we're in need of something a little different. We've talked about several ideas but last night one came to mind. We'll take off the side tables - the room is just too small for them, put the bed on heavy duty casters, and then paint it in the same style as the walls, but in a different color. The stencil will carry over but won't dominate as it's 18" high. I chose the wall color and I'm asking Michael to choose the bed frame color.

Wednesday, June 30, 2010

Input would be greatly appreciated!

Michael and I are eagerly awaiting our room set-up. I've mentioned in earlier posts that I feel like going with white walls would be the best with our limited light. I also want to do a stencil. I was considering making my own design but was introduced to an Etsy seller who makes reusable stencils. Now bear with me as I try to explain what I'm envisioning. I'm thinking of using a flat white (I know...) and then painting the stencil in a gloss white. I think that the reflection via the light from the window and our lamps will create a lush texture on the walls without being overbearing. I was thinking of a sumptuous damask but then found the argyle-like pattern which is pictured first.

Wall Stencils
Click image to enlarge.

Thoughts?

Tuesday, May 4, 2010

White walls

This is the best shot we have (courtesy the Charleston MLS) the room that we'll make as our bedroom. Notice the small window. I'd love to eventually take it out and expand the opening to something wider, but that is so low on the priority list.

Anyway, some of you guys know that we're not afraid to use a little color, but I am seriously thinking of going white with this space and painting something/stencil in a white gloss for subtle texture. We'll then use bedding and pillows in lush fabric, and artwork to bring color into the environment.

Present:
bedroom
bedroom

Last year:
Bedroom
Bedroom
{ Click on images to enlarge. }

We're planning on installing hardwoods throughout the entire upstairs, starting in our room and the studios first. This will come after some immediate bathroom changes, and after we save some money.